
Voice menu setting (IVR)
Introduction
*Only available with the Telephony Plus Module, you can check more informations and prices here.
JivoChat has a very useful feature - interactive voice menu (IVR). Now, when calling your number, the client will be able to select the topic of his question by dialing the number in tone mode, and the call will go to operators from the desired department.
The functionality will ensure the routing of incoming calls and, therefore, reduce the load on your call center operators.
How to enable IVR on your number
This feature is available both for numbers purchased from JivoChat and for numbers connected via SIP .
All settings are made in the JivoChat application .
Preparatory stage
If you have not added departments yet, you need to create them. Department settings are located in Management > Employees > Departments
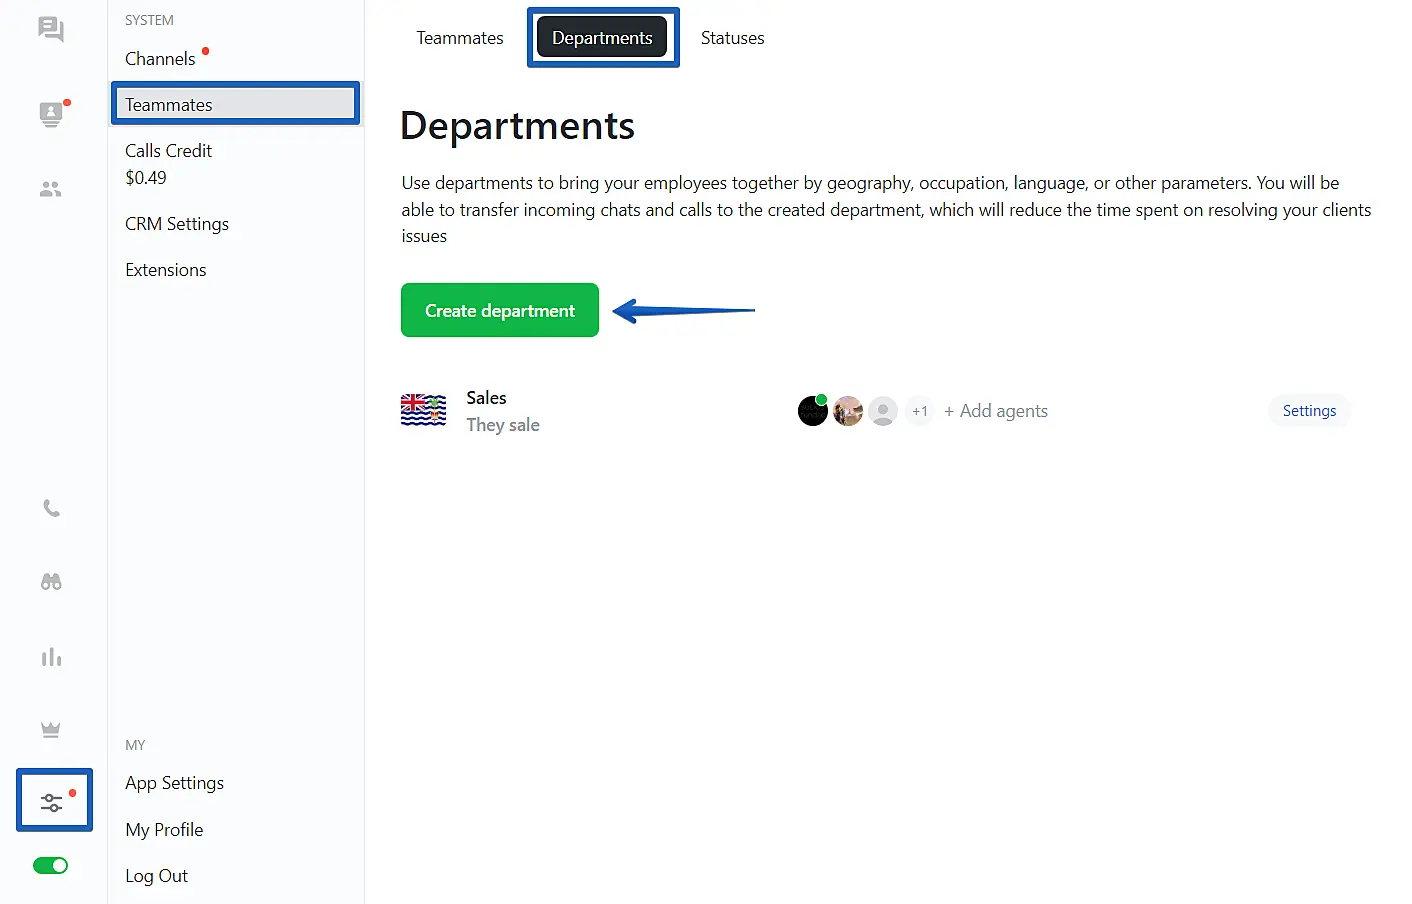
Our Knowledge Base has detailed instructions for adding departments
IVR setup
After the departments are created, you can proceed directly to setting up the voice menu.
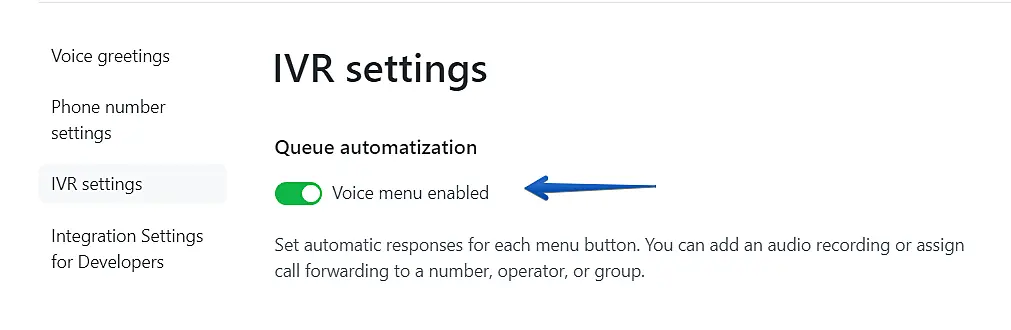
To do this, go to "Management" > "Channels" > "Setting (next to the channel of your number), then open the section "IVR settings".
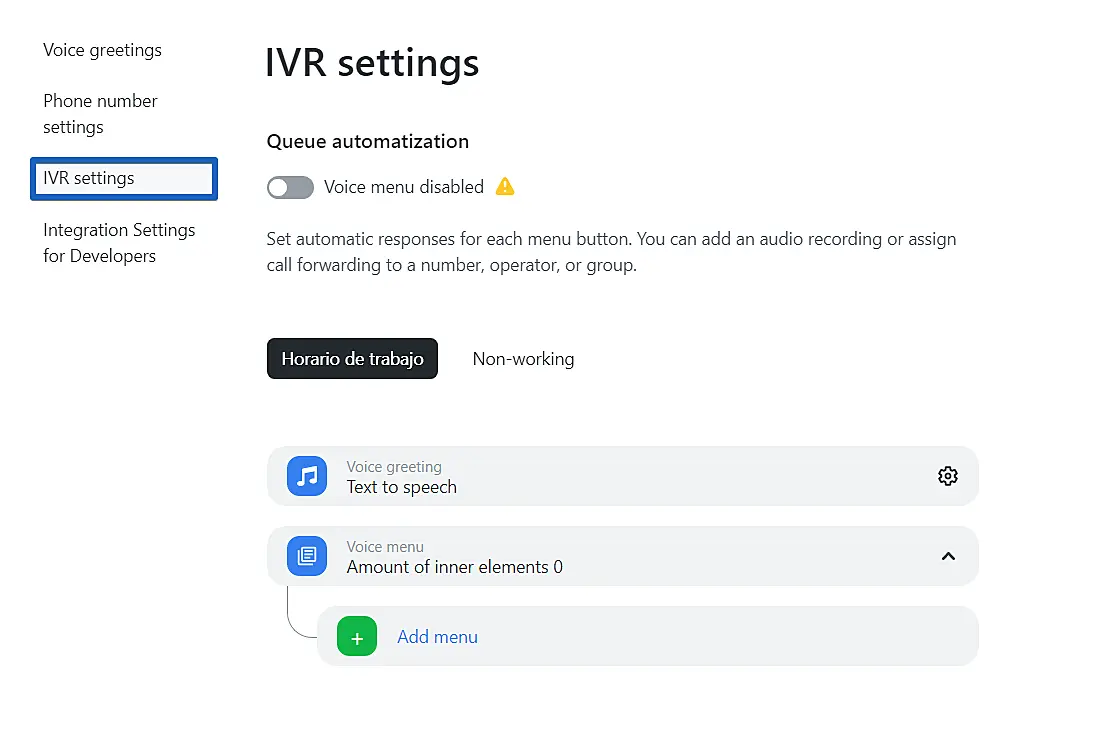
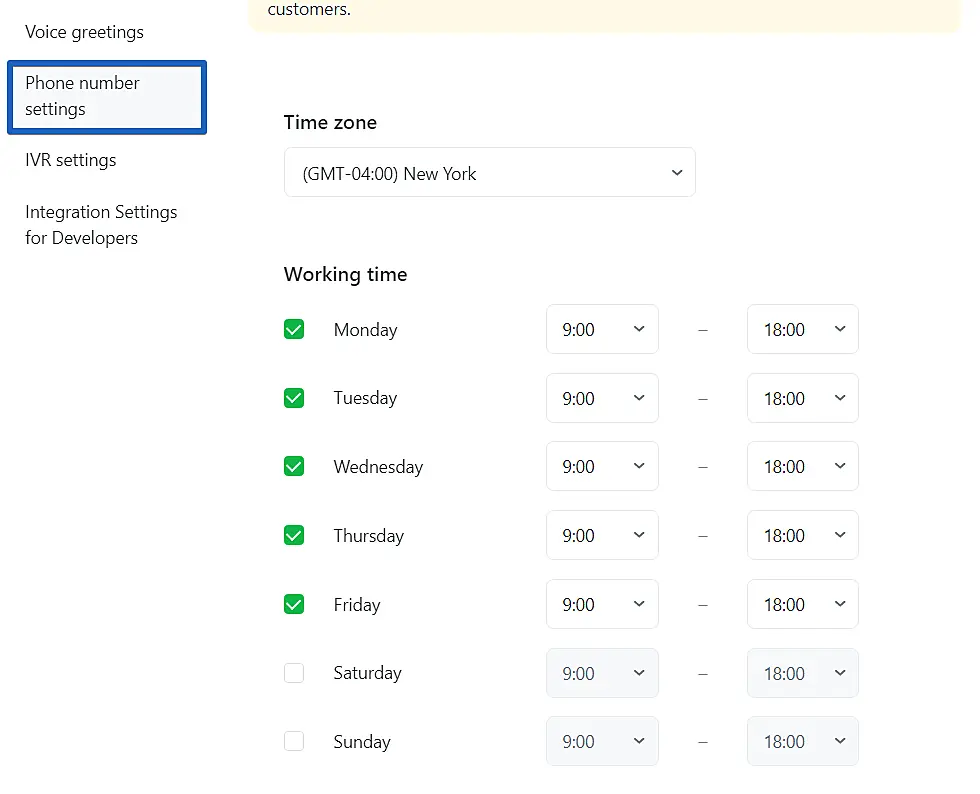
The settings here are divided into two tabs: Working hours and Non-working hours. You can set up a working time schedule in the next section - "Phone number settings".
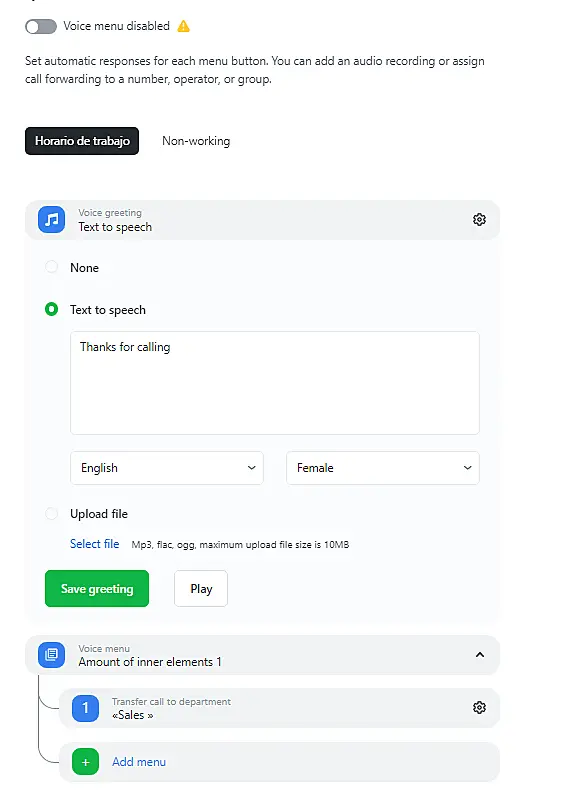
Set up a voice menu for working hours.
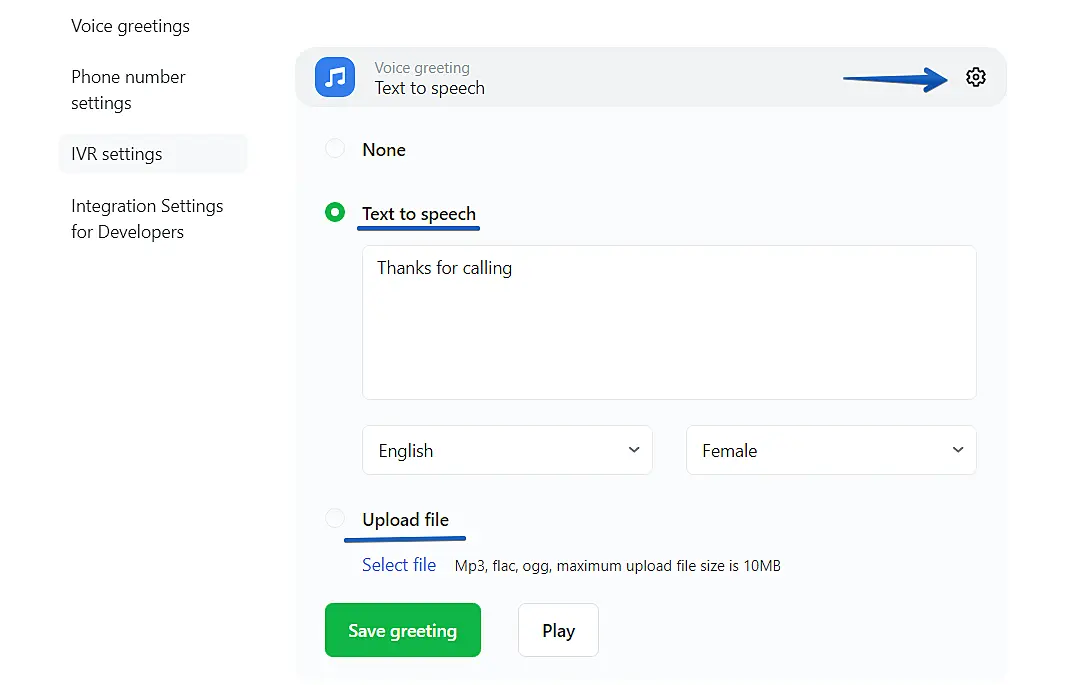
At the beginning of the algorithm is "Greeting". In the greeting, it is necessary to voice the options available to the client (for example: "Good afternoon! To contact the purchase, press 1, if you have a question about delivery, press 2, etc."). The phrase can be written in text, and the robot will play it, or you can upload your own audio file.
When you're done setting up the phrase, click Save Greeting.
Once the voice phrase is set up, click the "Add Menu" button. The Button and Action fields appear.
In the "Button" field, select the number "1", since this is the first item of the voice menu. In the "Action" field, one option is available - "Transfer to Department".
After that, in the field below, select the department that, following the greeting, will be the first, and click "Save".

Do the same with the rest of the departments, indicating the numbers "2", "3" in the "Button" field, and so on, in order.
The sequence of items should match the information that customers will hear in the voice greeting.
For example, if the phrase sounds like this: "To contact support, press 1, if you need a sales department, press 2", then in the settings in the first paragraph should be "Support", and in the second "Sales".
After adding all the items, the setting for working time will be ready.
The voice menu for non-working hours is configured according to the same principle.
When all the settings are ready, you can activate the option, and IVR will work for the next caller to your number. We recommend making a test call and making sure everything works correctly.
That's all! If you have any questions, please ask us in the chat.

