
How to connect WhatsApp via JivoChat
Guide to Connect WhatsApp API to JivoChat
This instruction will help you find all three types of data that you need to use when connecting a channel in JivoChat:
The new WhatsApp channel unlocks new opportunities at JivoChat. It's a paid module, you can pay within the JivoChat platform, now you don't need external providers anymore.
Step 1
Make sure you already have a Facebook account. if you don't, then the registration process is quite simple: just enter your login and password, and then confirm the mail.
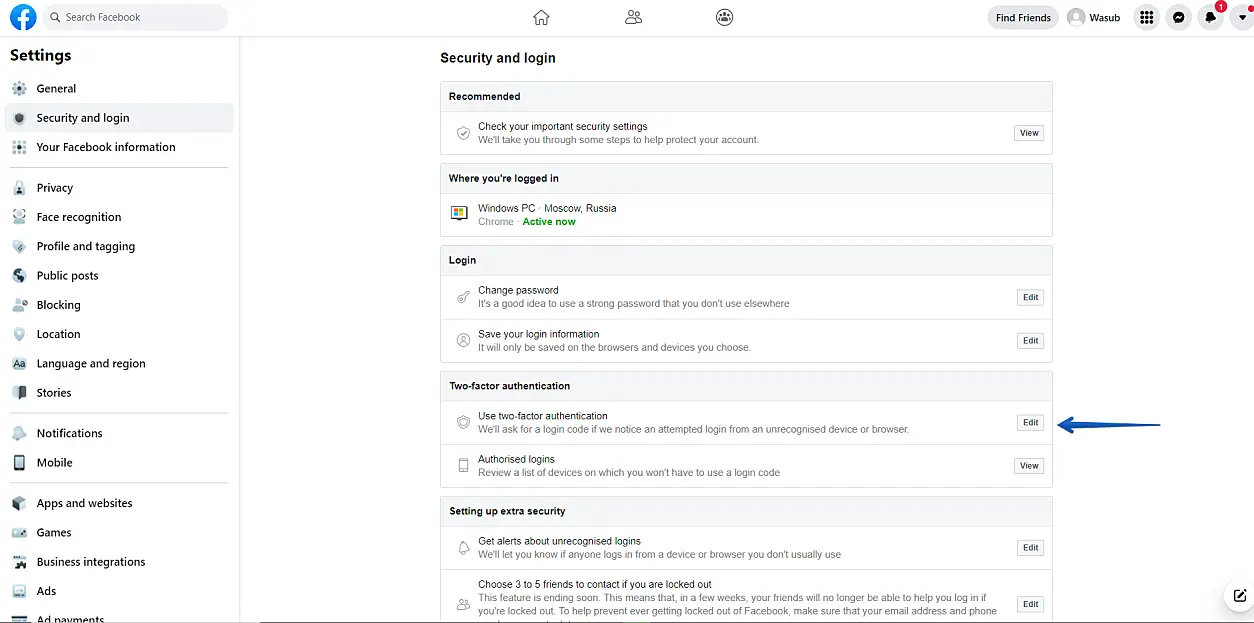
Step 2
Enable 2fa on your Facebook account: https://www.facebook.com/settings?tab=security
Step 3
Register as a developer.
https://developers.facebook.com/async/registration/ and Create a Meta for Developers account
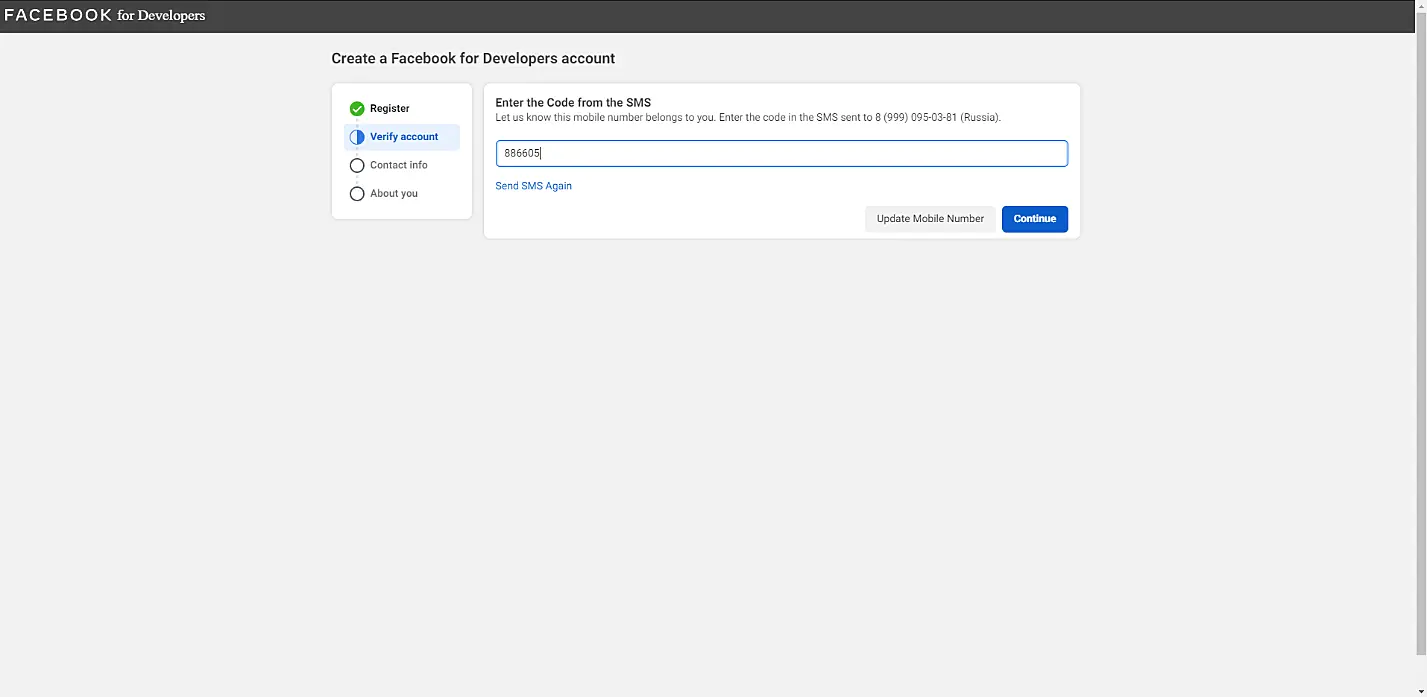
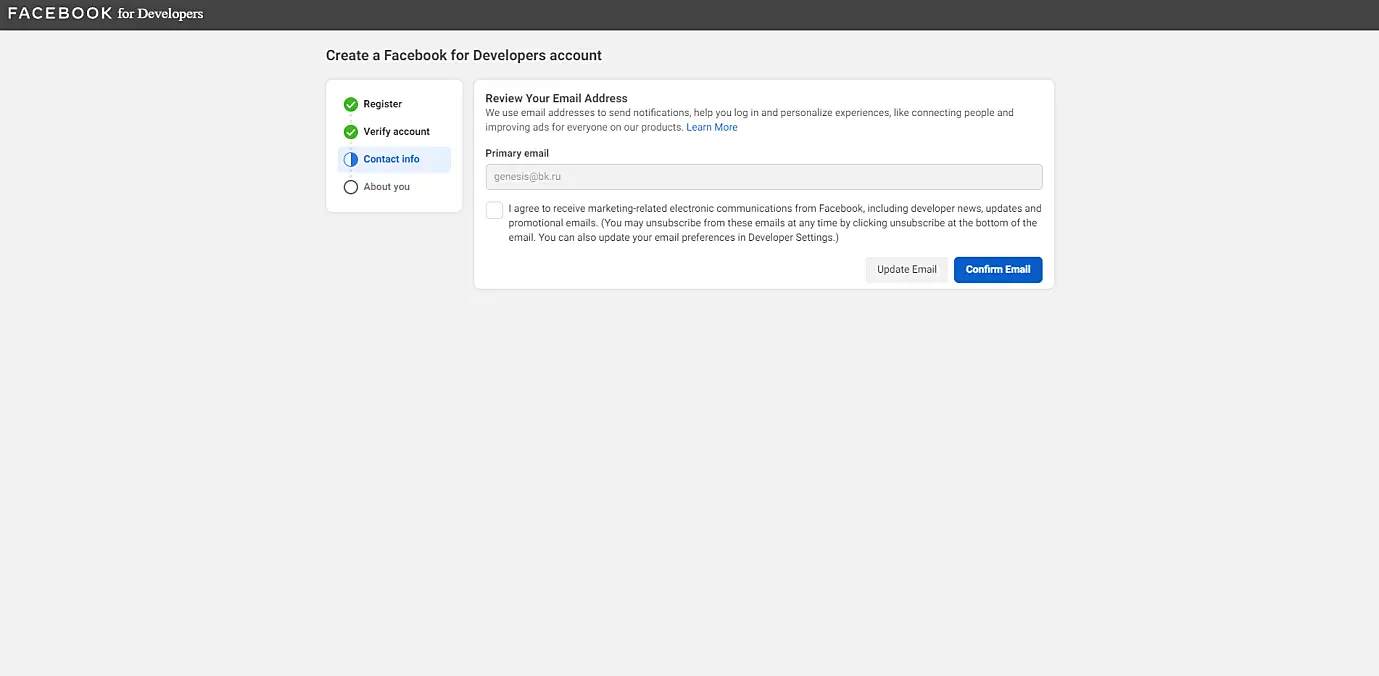
Here you have to verify your account via SMS or e-mail and review your contact email address.
Review your email address, and continue
Choose a role as Developer and press "Complete Registration"

You are now registered as a developer!
Step 4
Creating the Facebook App
To get started, create your first app.

Select the app type "Business" (The app type can't be changed after your app is created) and press Next

In next window you must provide your basic information:
- Add an app name (This is the app name that will show on your My Apps page and associated with your app ID. You can change the name later in Settings)
- App contact email (Make sure it is an address you check regularly. Facebook may contact you about policies, app restrictions or recovery if your app is deleted or compromised)
Business Account (Optional)
Connecting a Business Account to your app is only required for certain products and permissions. You'll be asked to connect a Business Account when you request access to those products and permissions.
Press the button "Create app"
It will ask for a password from the FB account - enter it and confirm.

In the opened window select WhatsApp:
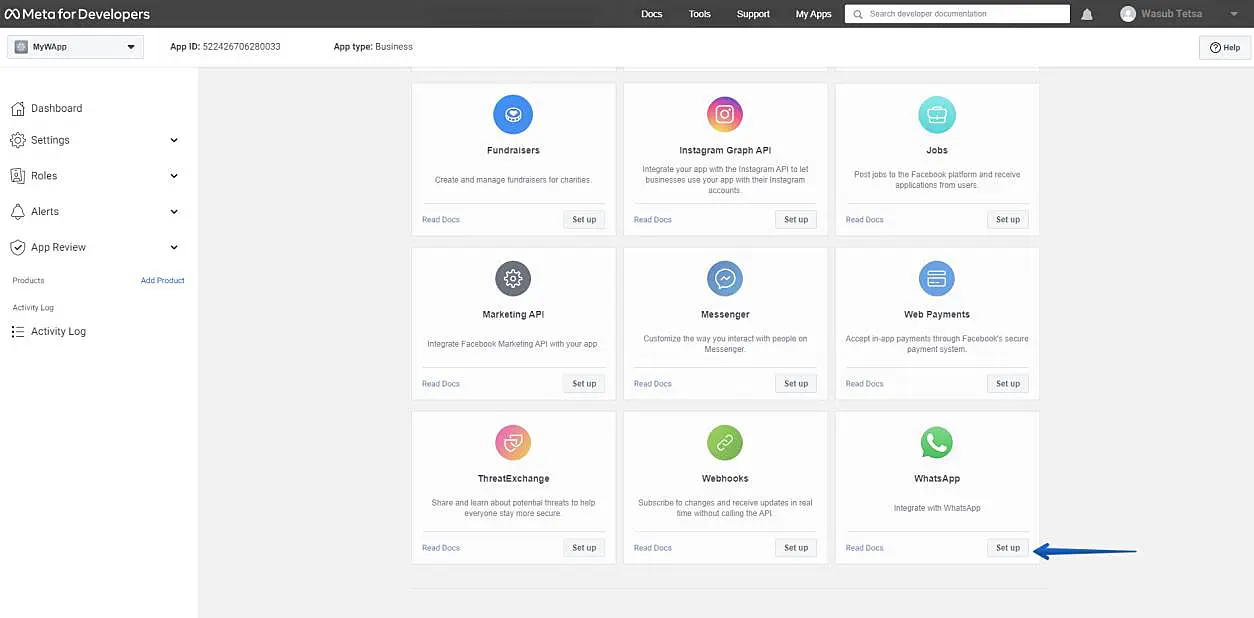
As a result, an application will appear in your account. Excellent!

Step 5
Next, you need Meta's business account.
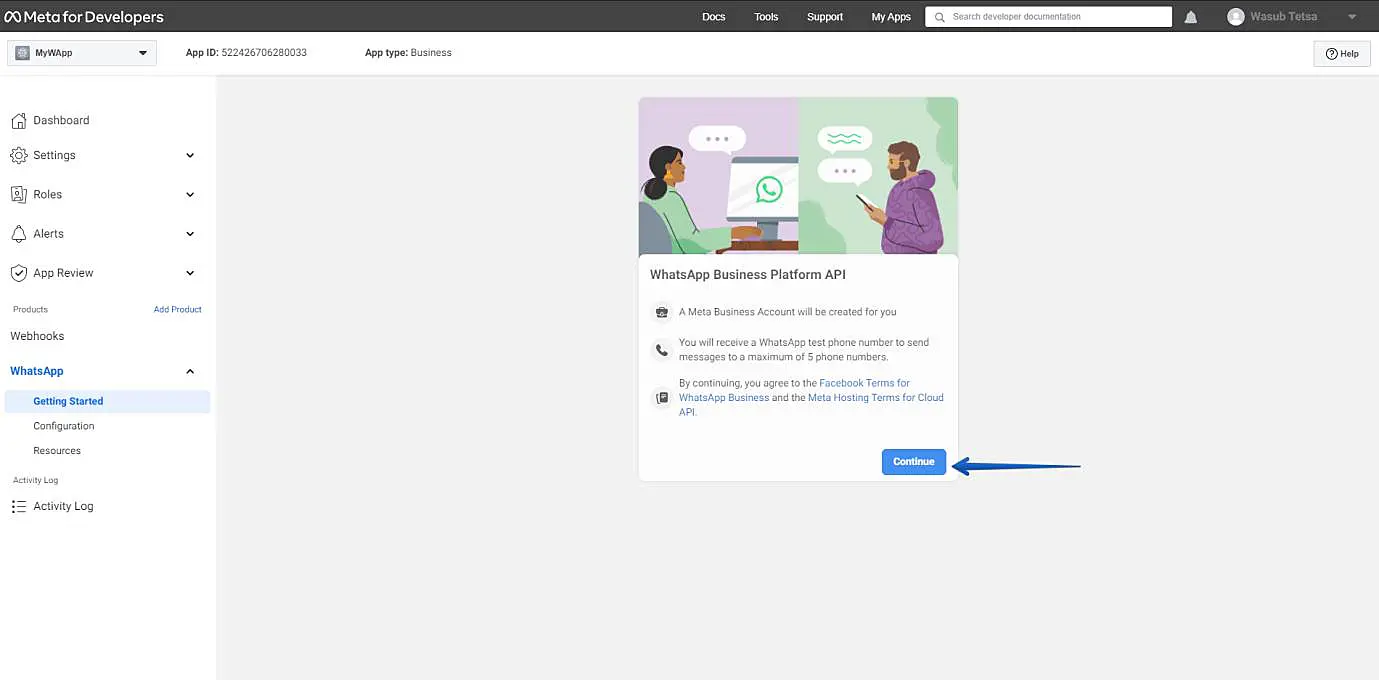
Click on your application tile twice, the following window will open. Now we are starting to create a Meta business account.
If it doesn't exist, it will be created automatically. If there is one, you can select it, or create a new one automatically.
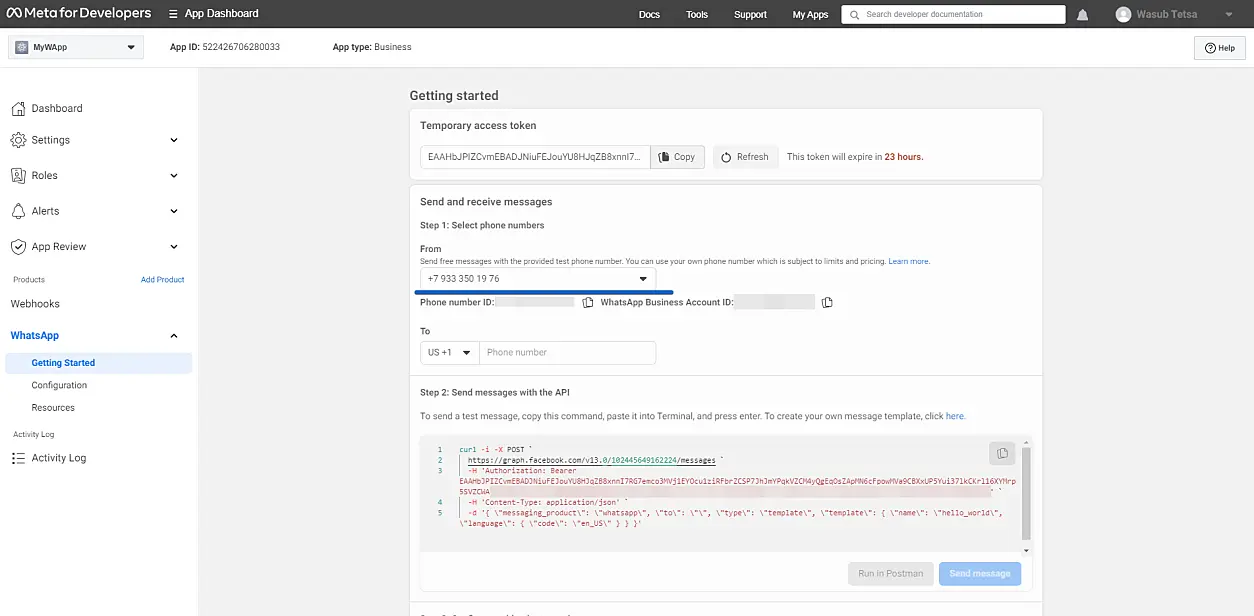
In the left menu bar, click on Getting started.
In this example, this profile does not have a business account:
Notice: if the FB account is new, then the Meta token simply will not be issued. You have to wait ~60 minutes
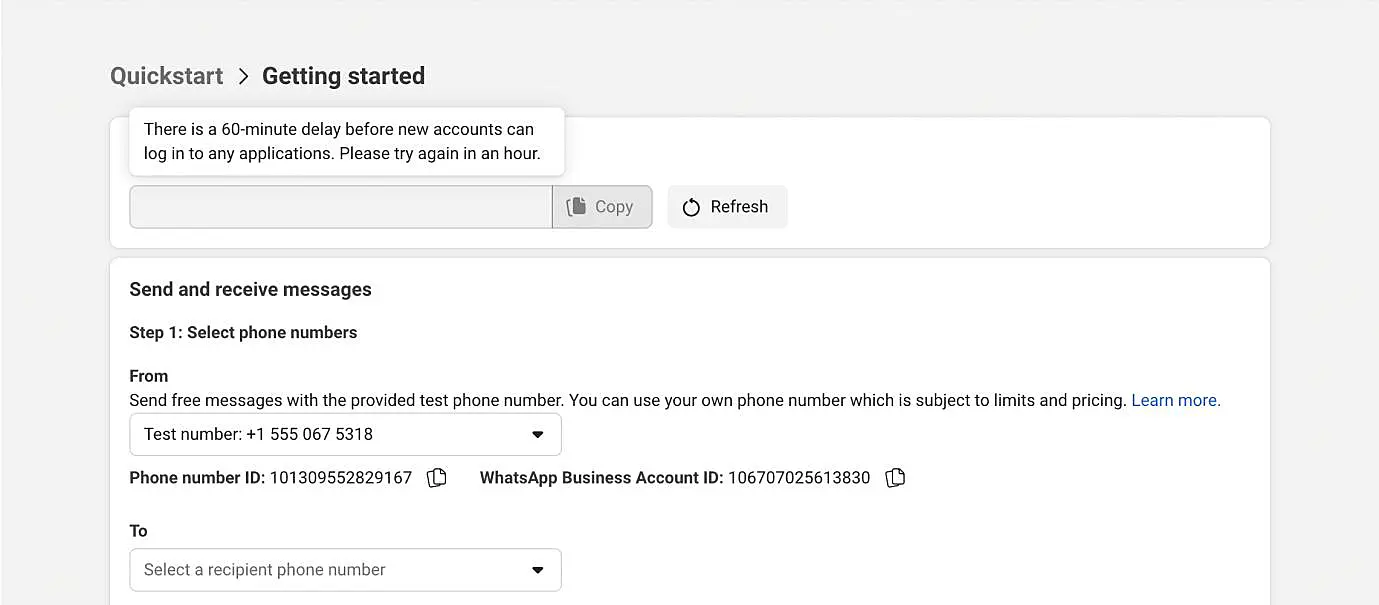
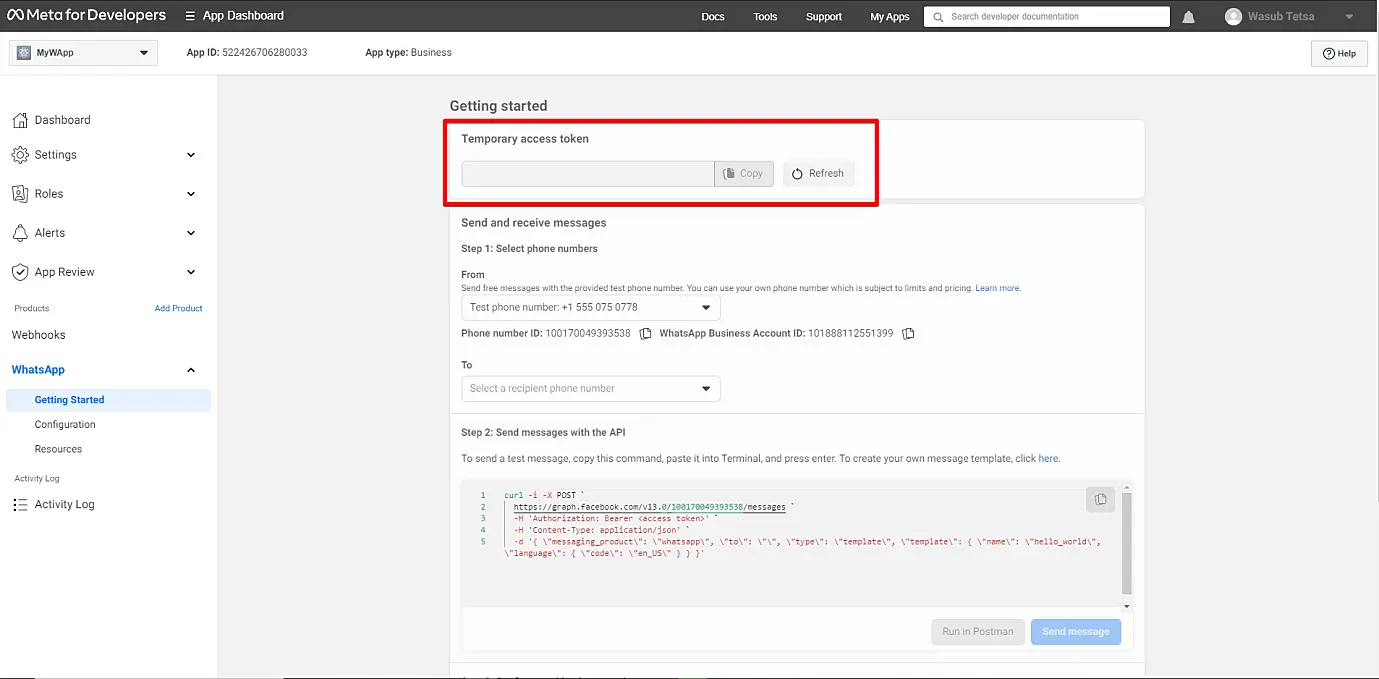
If you see a generated token here, we can continue.
Don't copy this token, you don't need it
Now you need to add a phone number to the business (Step 5 on this window).

Press "Add phone number". Сomplete your business information to add your phone number.
Be careful with the site address - Facebook checks the URL, and if the site is not found, it can block the business + the number associated with it
If you don't have a business website, you can use a URL from any of your social media profile pages.
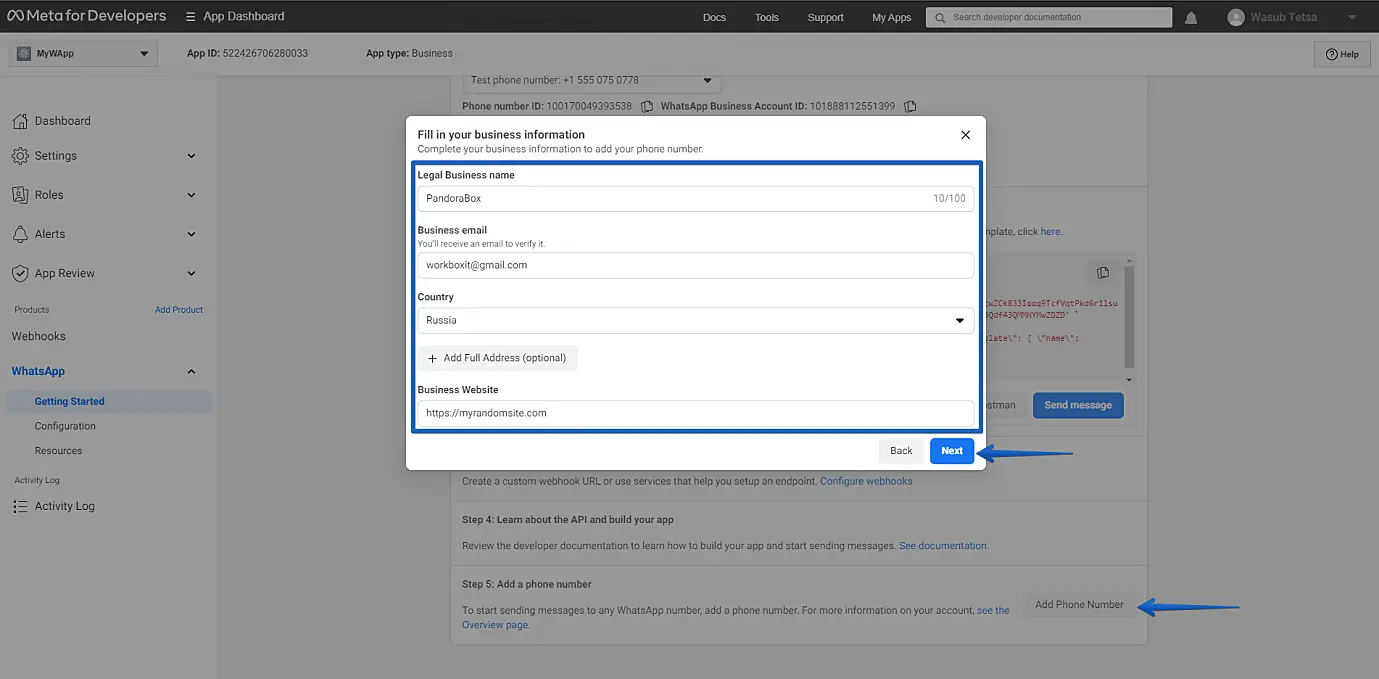
Add a description of the company, or just click Next:

Enter a number. It needs to be confirmed.
Select the option "Text message" to receive a confirmation via SMS (selected by default), or select Phone Call to receive a call with a confirmation code. Fill in the number field and choose the way to receive the confirmation code without errors, otherwise you will have to wait 2 hours for the next attempt:

An SMS with a confirmation code will be sent to the number, enter, click Next (if the SMS did not come, click Back, try to select Phone Call):

If the page is refreshed, and the entered phone number appears in the From field, then everything is OK:
This screen contains two of the three types of data that the client needs to connect the WhatsApp API to JivoChat
Phone number ID, WhatsApp Business Account ID
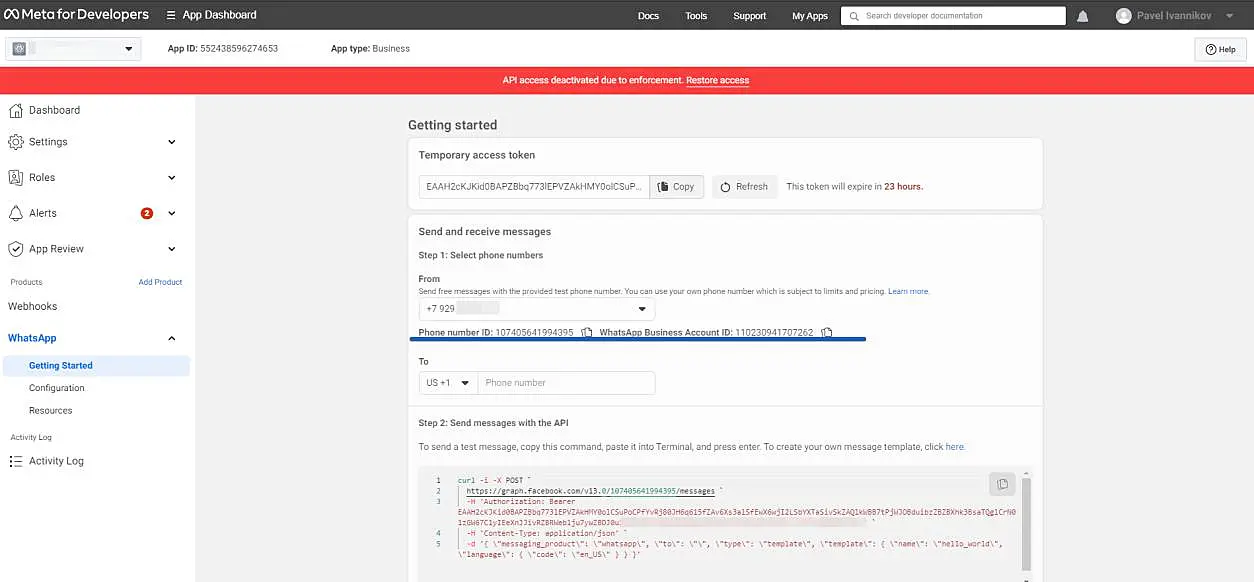
Copy them and save them, you will need them when connecting the channel to JivoChat
Step 6
Get an access token (the third and last field to connect the channel):
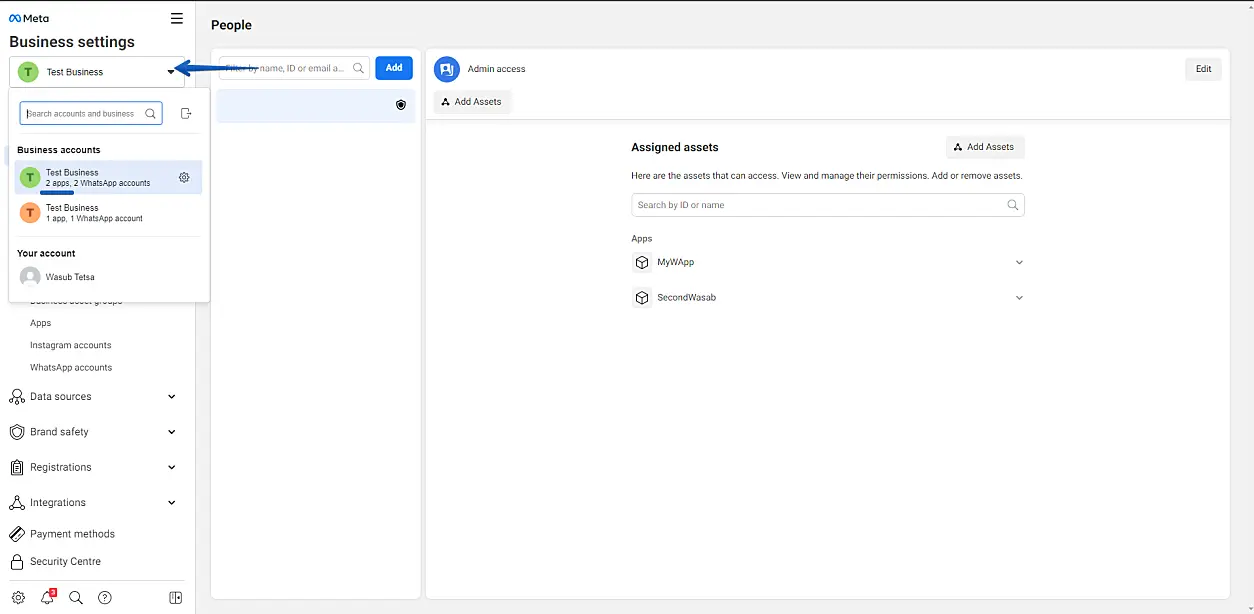
- Open the link https://business.facebook.com/settings
A client can have several businesses, it is important to choose the one on which the application was created. You can understand this from the list: check the business that has the created application:
-
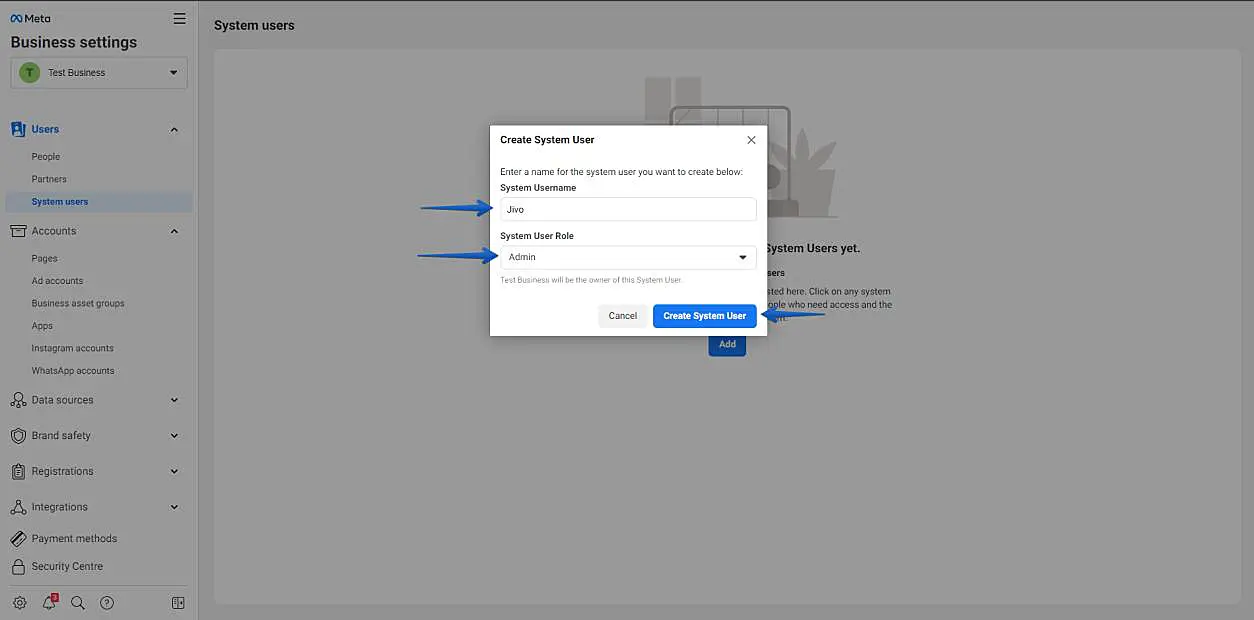
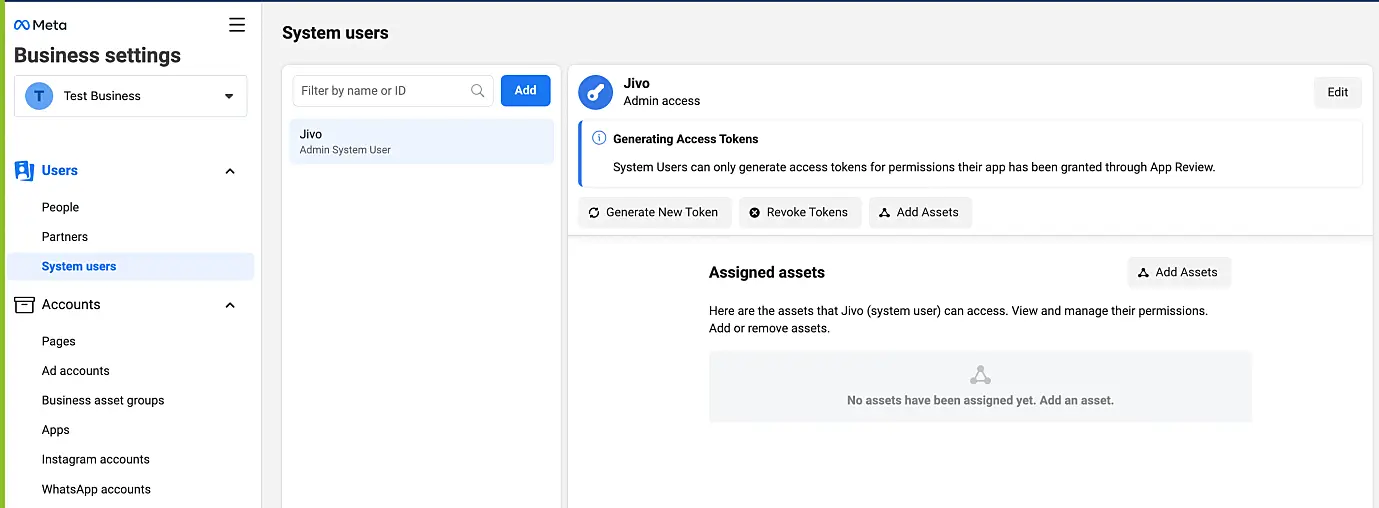
Select the desired business and press on the left bar Users -> System Users -> Add:

-
Select the user type Admin (mandatory), set the name JivoChat (this will help you to easily identify which system you use the token for integration). Click "Create system user"
-
Add assets to the created user by clicking on the "Add Assets" button:
In the window that opens, select the application and give access (Manage app enable), Save changes

Next, we generate a new token in several steps.
Click Generate New Token:

Select the previously created application (if there is only one, it will be selected automatically):
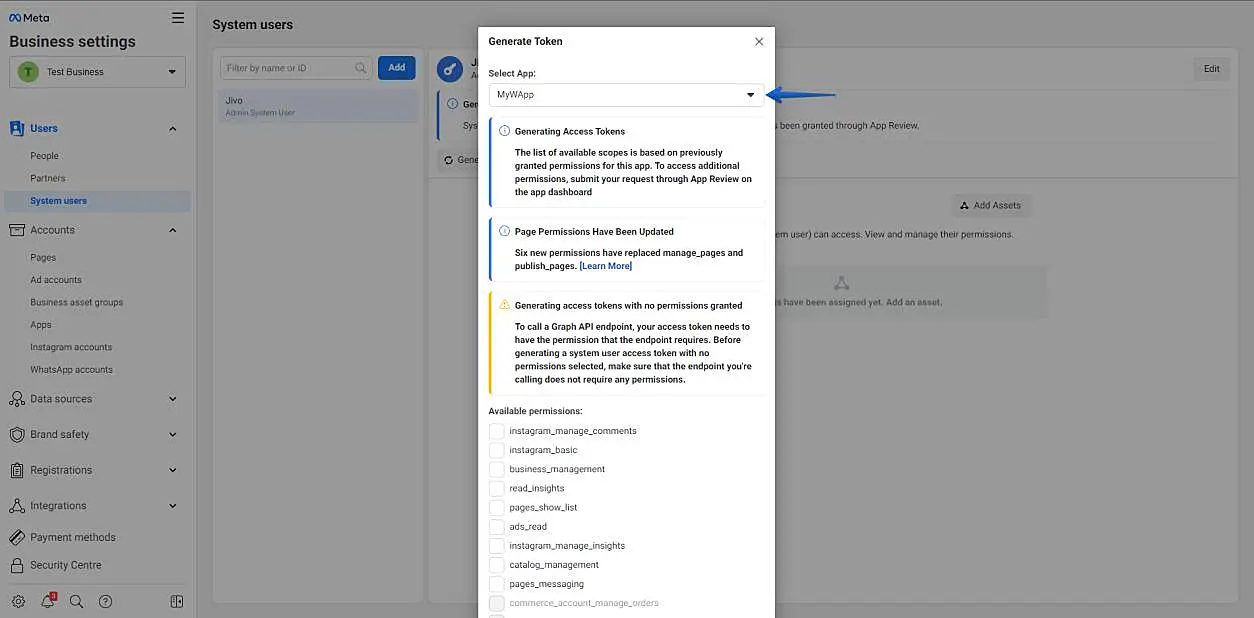
In permissions, we are only interested in
whatsapp_business_messaging
whatsapp_business_management

Click "Generate Token"
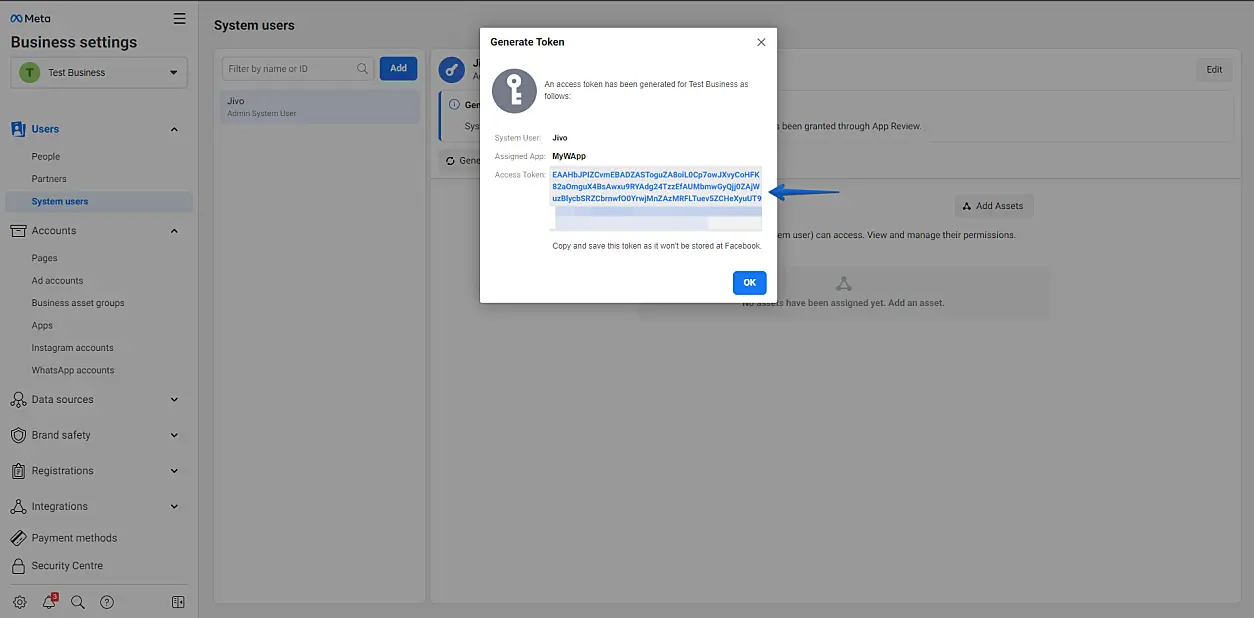
Your Access Token appears in the window that opens.
It must be copied and saved, there will be no more access to it - this is the third component for connecting a channel in JivoChat
Step 7
In the previous steps, we received all three necessary parameters for connecting the WhatsApp channel.
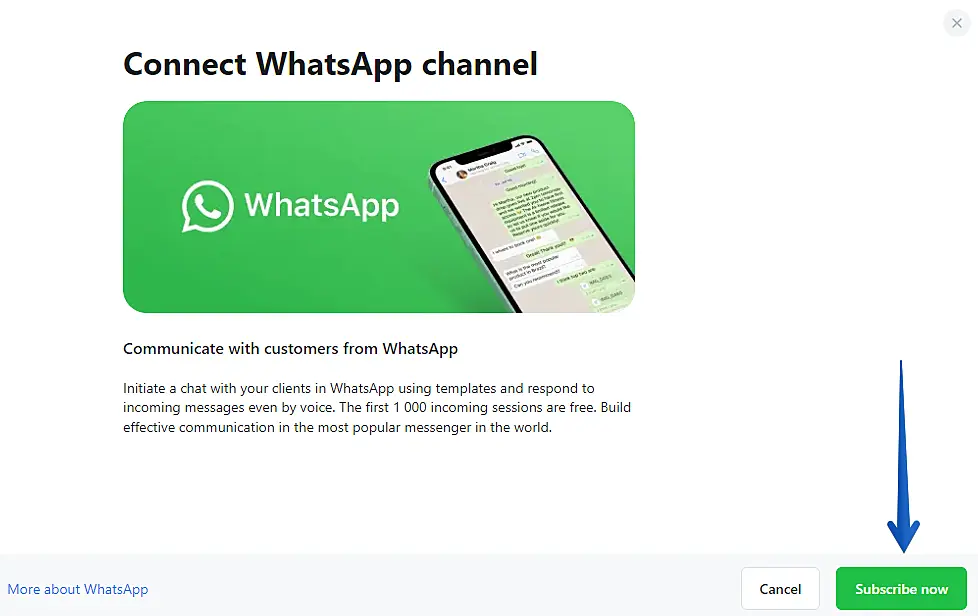
Now open JivoChat, go to Manage -> Channels and find WhatsApp there
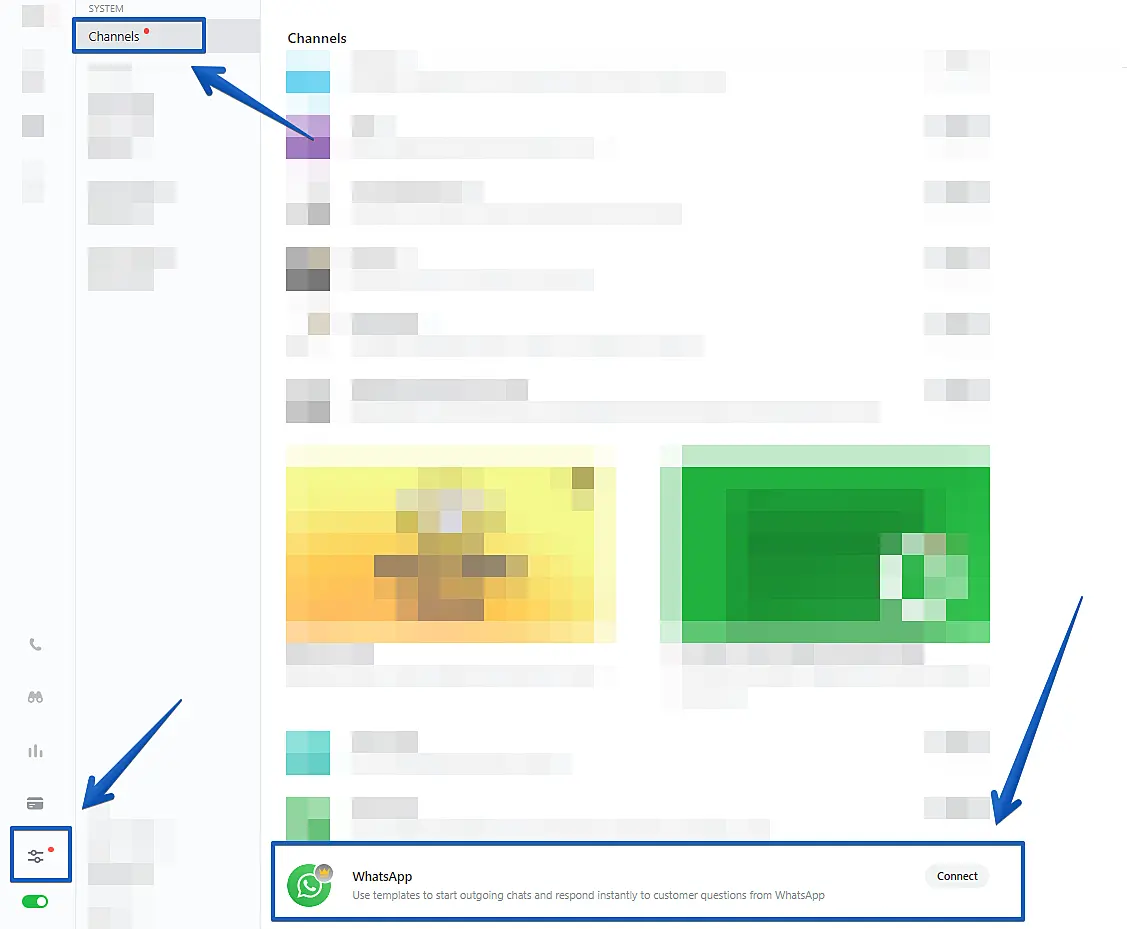
Press «Connect» and then "Subscribe Now"
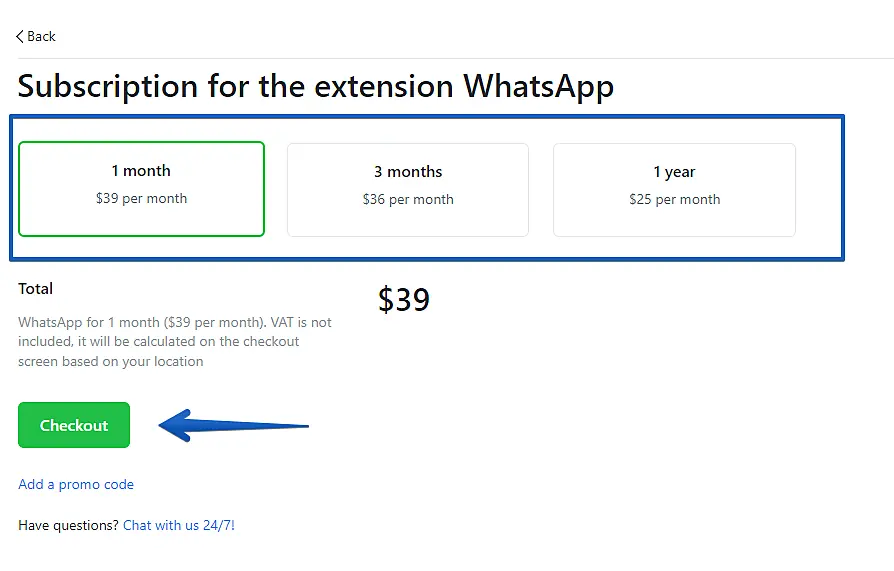
Then choose the license period and click "Checkout"
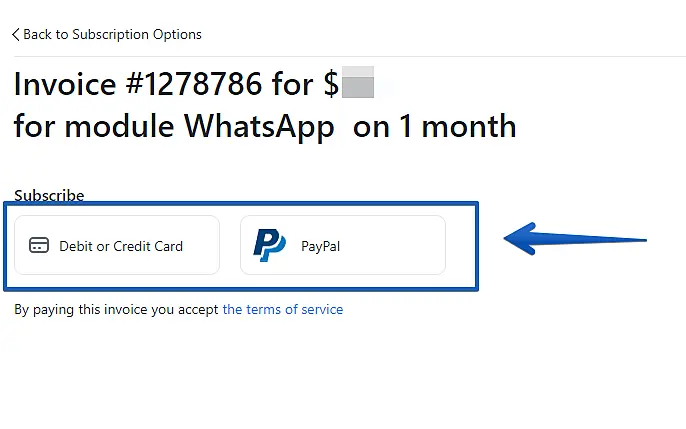
Then choose the payment method, fill in the necessary data and the module will be activated
In the window that appears, you need to fill in three fields with the data that you received in the previous steps:
• Phone number ID
• WhatsApp Business Account ID
• Access Token
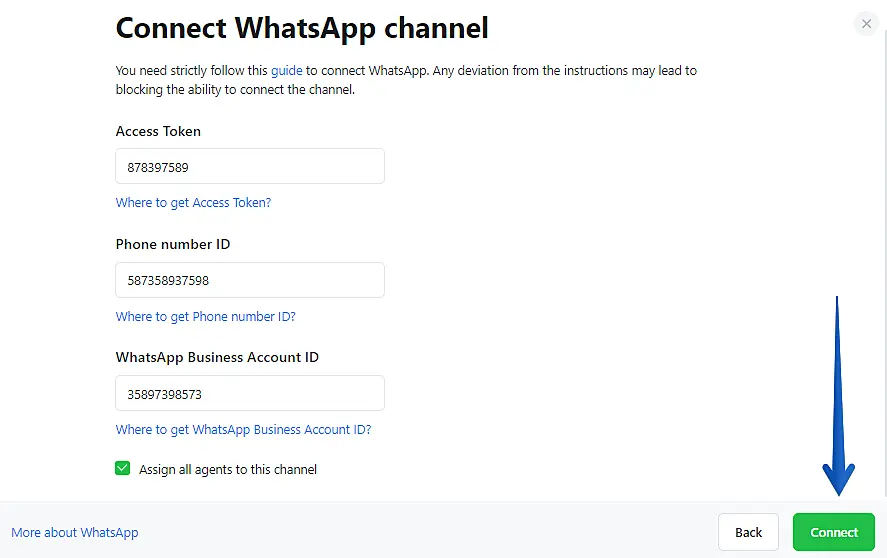
And press Connect
Step 8
After entering the data, a window will appear with the URLs for webhooks and Verify Token generated on the JivoChat side:
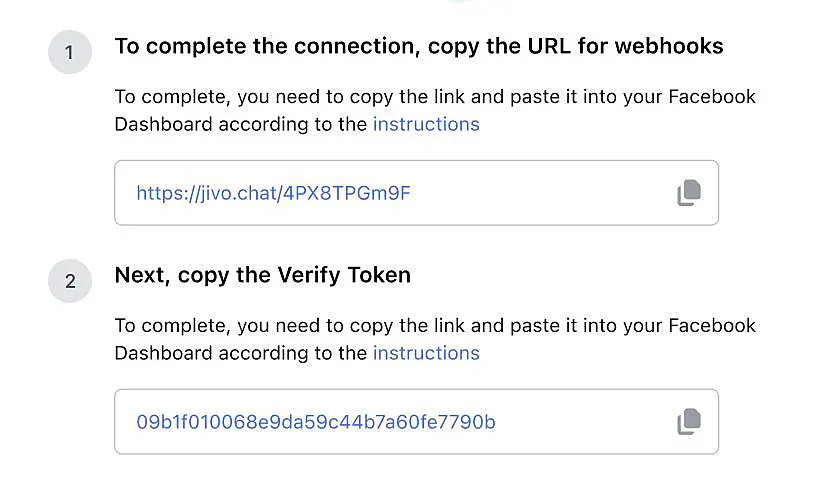
You will need this data for the final stage of integration. Save them or leave the data tab open
Step 9
In a new tab go to https://developers.facebook.com/apps/ and in the left menu bar click on WhatsApp-> Configuration -> Configure a webhook.
A window will open where you need to enter the data received in JivoChat.
These are URL and Verify Token respectively.
Click the "Verify and safe" button

The window should close, the completed fields will appear in the Configuration field:

Right there press Manage and subscribe every action

Congratulations! You have connected WhatsApp API to JivoChat!
Now you can send your first message to your business phone number to test and make sure everything works!
This solution gives you the opportunity to process 1000 unique chats per month for free.
If you need to increase this limit, you will need:
- Verify your business on Facebook
- connect a credit card
Find out how you can verify your company and what payment methods are available on the Facebook portal by clicking here -> https://developers.facebook.com/docs/whatsapp/pricing/
Also check out the two tutorials below:#
- To add a profile photo to the WhatsApp API, click here
- To add and use template messages, click here

